Appearance
Create a CNAME with Cloudflare
To utilize our inbound proxies you will need to setup a CNAME from the hostname you own to our Inbound Proxy domain.
First navigate to your inbound proxy and find the DNS Settings section. This section will contain the information you need to create your CNAME.
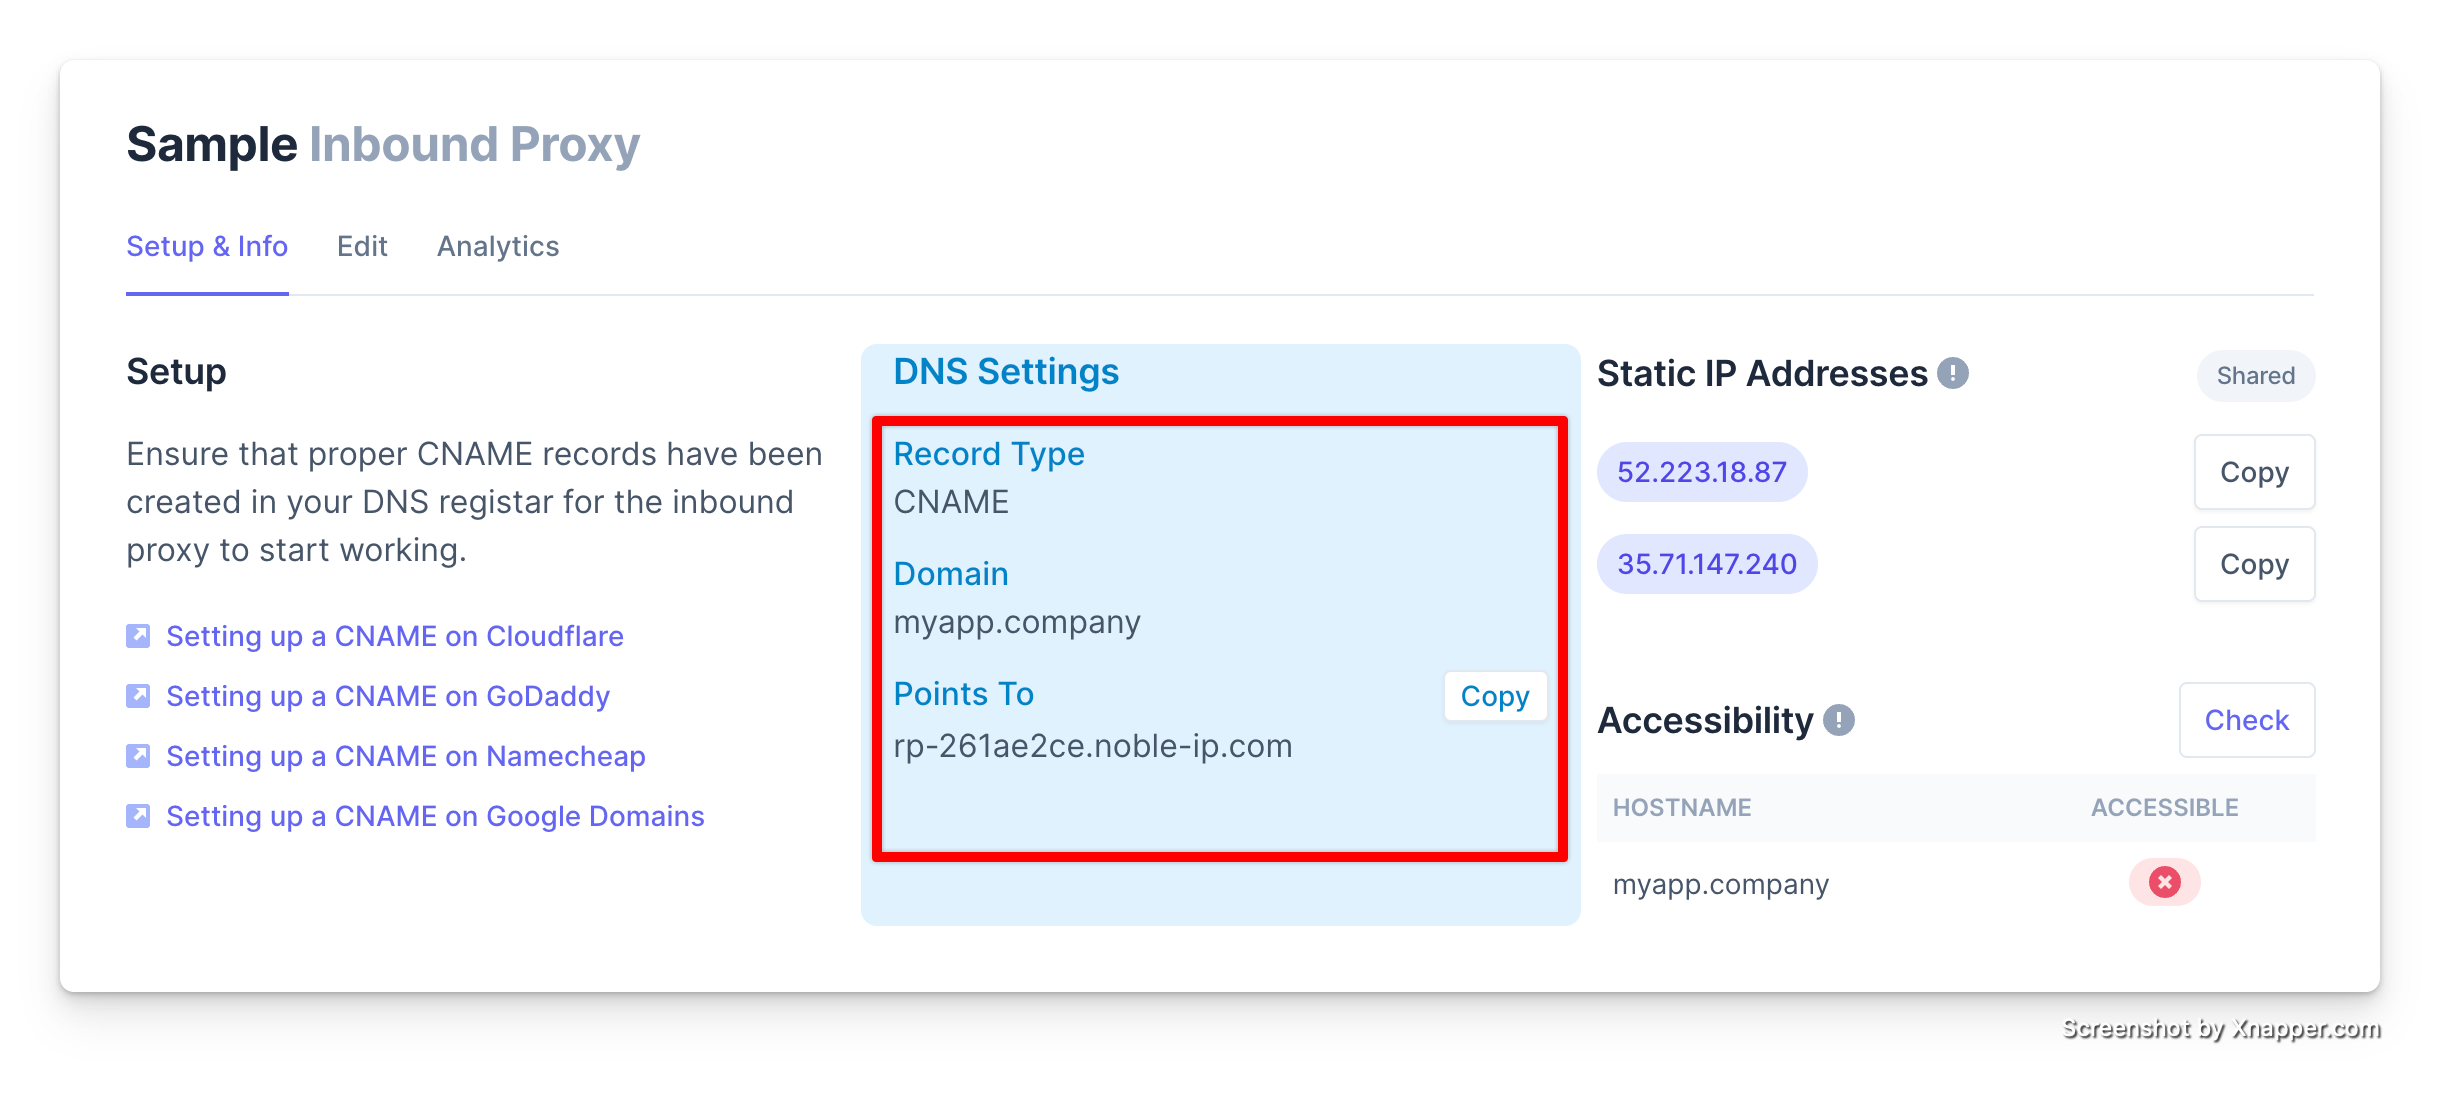
In your Domain provider you will create a CNAME record that points to the domain shown in the Points To section of the DNS Settings.
Instructions
Log in to your Cloudflare account using this link.
Click “Select Website” in the navigation bar.
Select the domain you'll use for for hostname.
Click the “DNS” tab.

In the DNS Records section, fill in the fields for all your hostnames:
- In the Type field, select CNAME.
- In the Name field, enter the Hostname you entered into the reverse proxy.
- In the Target field, enter the "Points To" from your reverse proxy.
- In the TTL field, select Auto.
- Click the Cloudflare cloud and arrow icon to deactivate that Cloudflare CDN.
Click Save. Then repeat the process above for all your hostnames