Appearance
Quickstart: Inbound Proxy
If you need to host your HTTP/S endpoint on a static IP, such as a cloud function or a Vercel app, then you should utilize an inbound proxy.
Creating an Inbound Proxy
Start by signing up for an account and accessing the dashboard.
- Navigate to the
Inbound Proxiestab and selectCreate Inbound Proxy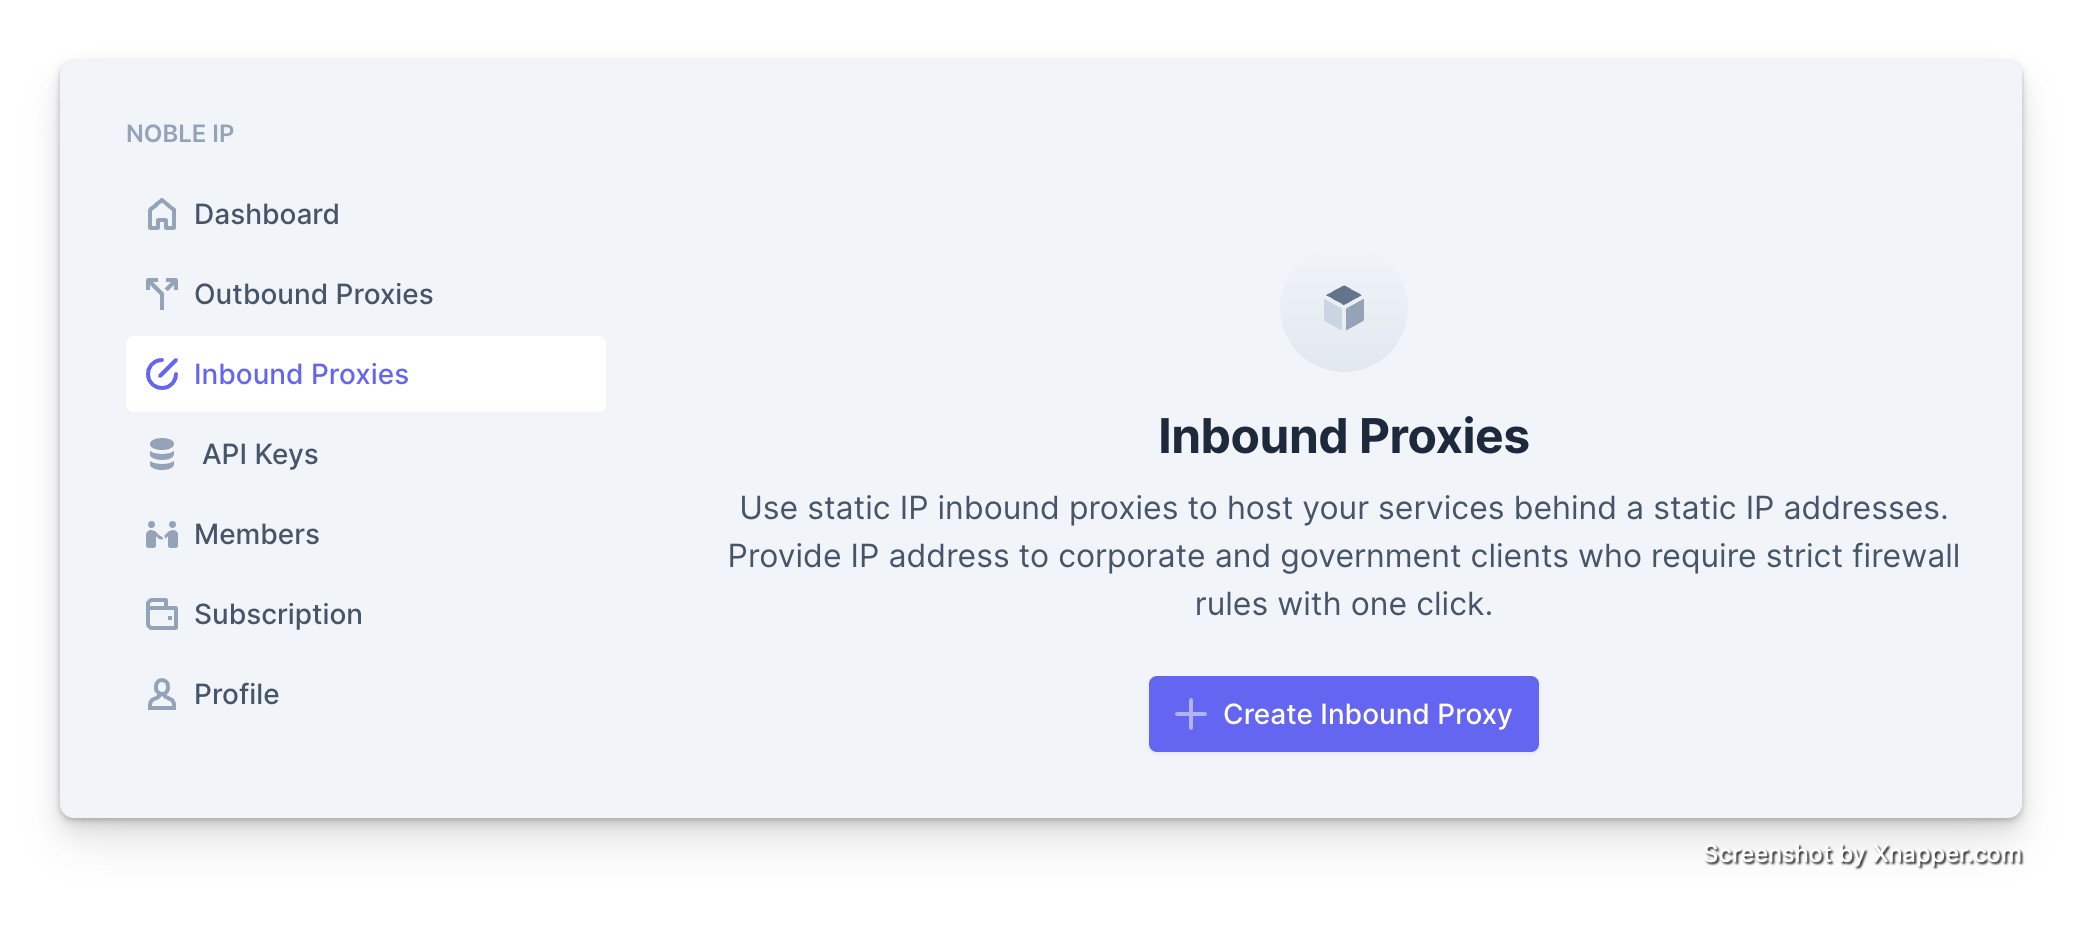
- Add your destinations for the proxy. If you add multiple destinations we will round robin connections to each destination. By default we will utilize SSL passthrough - this means data will pass through the proxy completely encrypted. You can also enable SSL Termination, (if for example your backend does not support HTTPS), and we will provision a Lets Encrypt certificate for you.
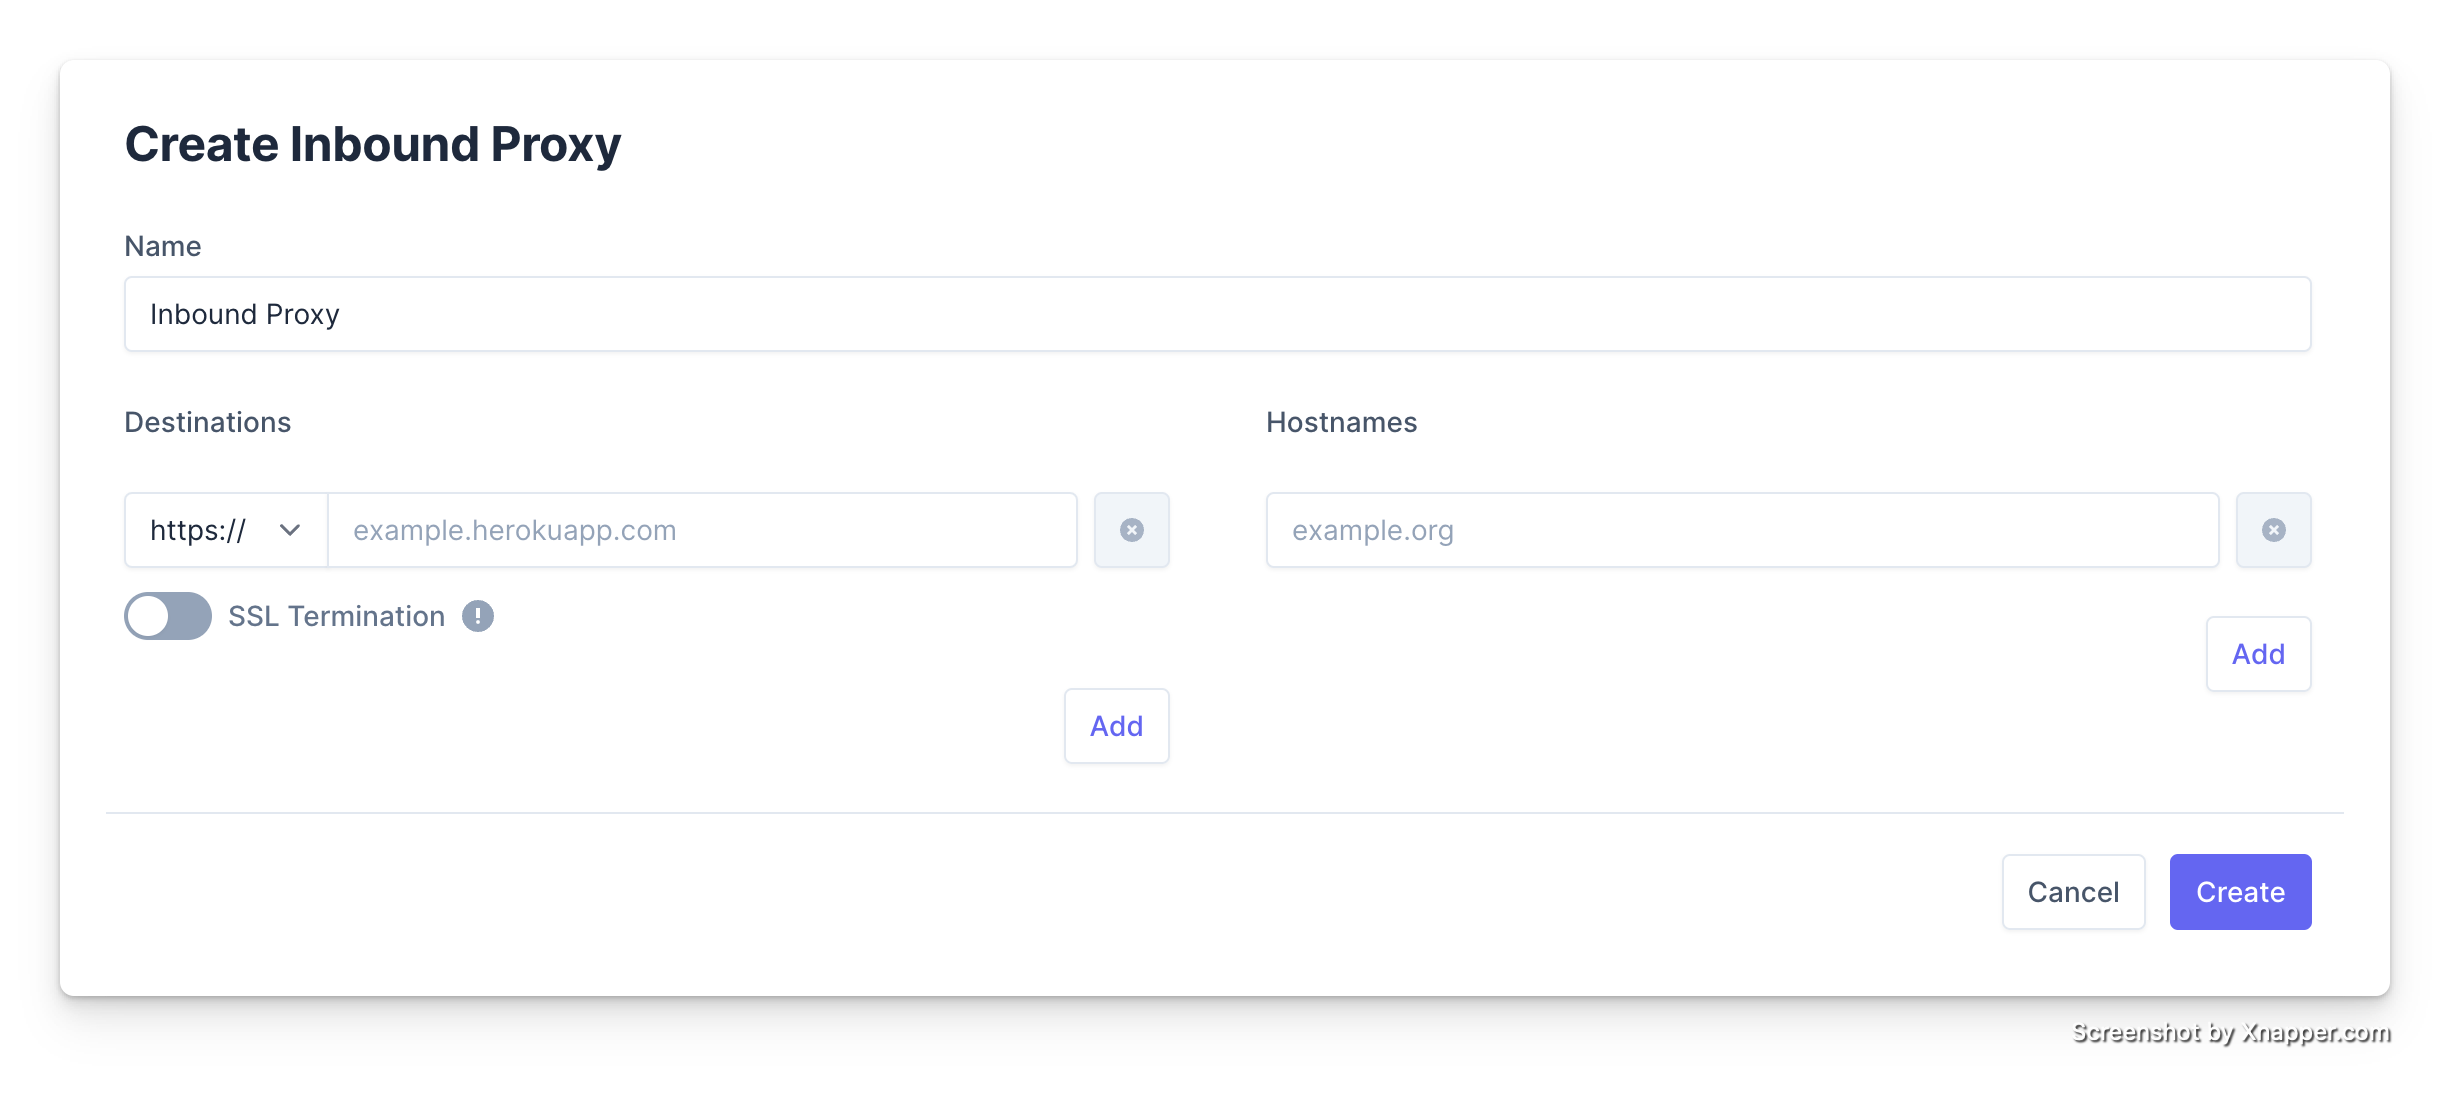
- Add your hostnames to the proxy. This is the hostnames that you will give give to your clients and setup a CNAME with.
- Using your domain provider, create a CNAME to all the hostnames you have setup.
TIP
Our CNAME guide provides instructions on setting up a CNAME
You are done. You should be able to access your hostnames and provide them to clients with a whitelisted static IP.